Under-Sink Organization: A Step-by-Step System for the Kitchen
Last updated: 2026-08-11 · 4 min read

The cabinet under the kitchen sink might be the single most humbling space in any home. Pipes taking up the middle. Odd angles everywhere. A graveyard of half-empty cleaning bottles and plastic bags you kept because you might need them. I have reorganized this cabinet more times than I care to admit, and every version has been better than the last. Here is the system I landed on, and why it actually holds up over time.
Step 1: Pull Everything Out First
This is non-negotiable. Every single thing comes out before anything goes back in. Set it all on the floor or counter and look at it honestly.
Throw away anything empty, expired, or duplicated beyond reason. If you have four bottles of the same degreaser, use them down before you buy more. Keep only what you actually reach for in this cabinet. Everything else belongs somewhere else in the house or in the trash.
Step 2: Measure the Space (Yes, With an Actual Tape Measure)
Before you buy a single organizer, measure the interior of your cabinet. Write down the width, depth, and height on both the left and right sides of the pipe column. Note how far the pipes extend from the back wall, because that middle section is essentially dead space if you try to put a shelf there.
Most under-sink cabinets in standard kitchens run about 30 to 36 inches wide and 20 to 24 inches deep. The usable height from floor to the first shelf above (if there is one) is usually around 18 to 22 inches. Your numbers may vary, and they matter.
Step 3: Build Around the Pipes
The pipes are not going anywhere, so your system works around them, not against them. Think of the space as having three zones: left of the pipes, right of the pipes, and the back wall behind them.
A slide-out organizer on one or both sides of the pipes makes a huge difference. The 2-Tier Under-Sink Slide-Out Organizer is a two-tier slide-out that fits the typical side section perfectly and lets you actually see what is in the back without excavating the front. Put your most-used cleaning supplies on the tier you reach first.
Step 4: Use the Door
The inside of the cabinet door is free real estate that most people completely ignore. A slim over-the-door or adhesive setup can hold rubber gloves, a small scrub brush, a bottle of dish soap for backup, or trash bags folded flat.
Strong adhesive hooks like the Clear Adhesive Wall Hooks (12-Pack) work well here if your door is smooth. Make sure you press them firmly for 60 seconds and wait 24 hours before loading them. If you prefer something more structured, a narrow hanging organizer mounted to the door frame can hold a full row of items without touching the door surface at all.
Step 5: Contain Like with Like
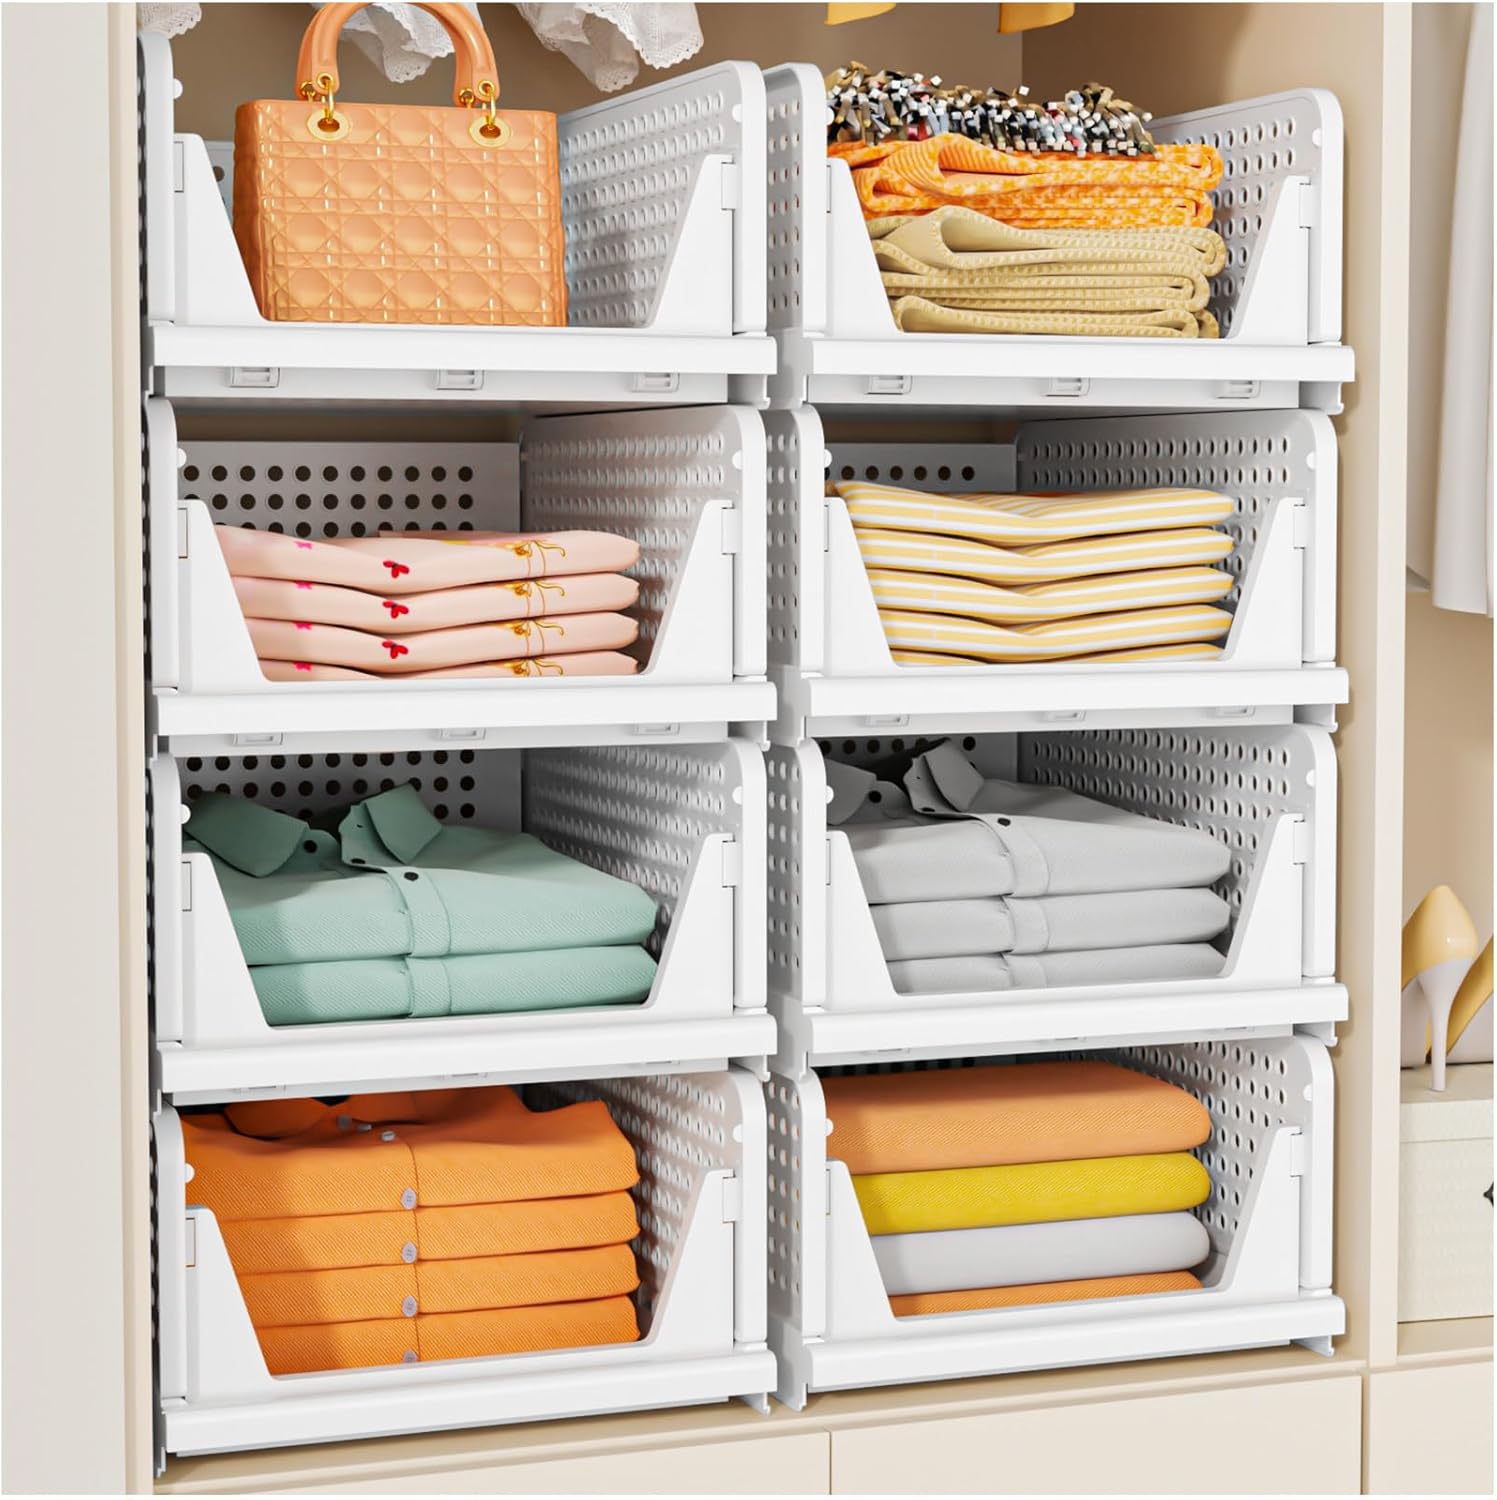
Loose bottles rolling around is what makes under-sink cabinets feel chaotic within two weeks of organizing them. Bins solve this. Group your categories and give each group a bin: everyday cleaning products, backup stock, dish supplies, trash bags.
Clear bins let you see everything at a glance. If the bins have handles, even better, since you can pull out the whole group when you need something in the back. Stackable options work well in the taller sections on either side of the pipes. I do line the bins up so the labels face forward. My fiance calls this excessive. I call it a system that works.
For the backup stock bin especially, do not overfill it. If it holds more than a one or two item deep supply, that is too much product in the house at once.
Step 6: Handle the Sink Caddy Situation
If you keep a sponge, dish soap, or scrub brush at the sink itself rather than in the cabinet, give those items a proper home on the counter or mounted to the sink. A well-made caddy keeps them contained and allows the area to dry properly.
The Stainless Steel Sink Caddy Organizer sits right at the sink and holds the usual suspects without rusting or tipping. It is a small thing that makes the whole counter feel more intentional.
The under-sink cabinet and the sink surface work together. If the counter around the sink is a pile, the cabinet tends to absorb the overflow and become a pile too. Solve both at once.
Step 7: Set a Reset Habit
Even a great system degrades without a small amount of maintenance. Every time you finish a product, take two seconds to remove the empty bottle before you put a new one under the sink. Once a month, do a 5-minute check: pull out the bins, confirm nothing is expired, and put everything back where it belongs.
That is it. The setup does the heavy lifting. The habit just keeps it honest.
The takeaway: The under-sink cabinet earns its chaos because people try to store things in it without a real structure. Once you measure the space, work around the pipes, contain by category, and put a simple reset habit in place, it becomes one of the most functional cabinets in the kitchen. It takes about an hour to set up right, and it saves you a low-grade frustration every single day after that.