Under-Sink Cleaning Supply Storage: A Simple Setup That Lasts
Last updated: 2026-08-26 · 4 min read
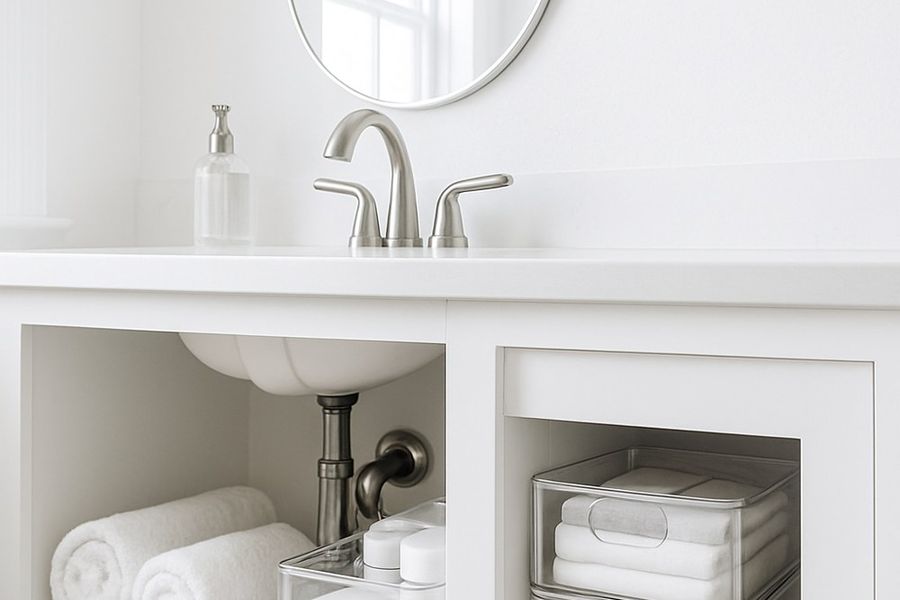
The cabinet under the kitchen or bathroom sink is where good intentions go to die. A spray bottle falls over, a sponge migrates behind the drain pipe, and before long you're moving six things just to find the dish soap. I've reorganized that space more times than I'd like to admit, and I finally landed on a setup that has stayed put for over a year. Here's exactly how I did it.
Start by Pulling Everything Out
Before you buy a single bin or organizer, empty the cabinet completely. Set everything on the floor and sort it into three groups: things you use weekly, things you use occasionally, and things you genuinely cannot identify or remember buying.
Toss the third group. If you haven't touched it in six months and can't name what it's for, it's not coming back in. This step alone cuts the chaos in half.
Measure the interior of the cabinet while it's empty. Write down the width, depth, and height on both the left and right sides of the drain pipe. That pipe is the organizing villain of the whole project, and your measurements need to account for it.
Work Around the Pipe, Not Against It
Most under-sink cabinets have a drain pipe running down the center or toward the back, which makes a single large shelf useless. The fix is to use two smaller organizers placed on either side of the pipe rather than one that spans the whole width.
A slide-out organizer is the single most useful thing you can put in this space. 2-Tier Under-Sink Slide-Out Organizer fits neatly on one side of the pipe and lets you pull the whole tray toward you instead of digging to the back. No more mystery items living in the dark corners.
For the opposite side, a simple bin or a second slide-out works well. Keep the two sides categorized separately: one side for everyday items like dish soap and sponges, one side for less-frequent items like oven cleaner or drain opener.
Add a Door for Extra Real Estate
The inside of the cabinet door is genuinely underused storage. A slim over-the-door organizer can hold spray bottles, rubber gloves, and small scrubbing tools without taking up any floor space inside the cabinet.
Over-the-Door Hanging Organizer (5-Shelf) works well here if you have a taller cabinet door. For a lighter load, a few strong adhesive hooks hold a folded pair of gloves or a small spray bottle by its trigger loop. Strong Adhesive Stick-On Hooks (4-Pack) stick cleanly to the door interior without drilling, which matters if you're renting or just don't want to deal with a drill at 9am.
One rule: only put things on the door that you actually reach for regularly. If it's on the door, it needs to earn its spot.
Decant and Downsize Where It Makes Sense
Full-size refill bottles take up a lot of room. If you buy cleaning supplies in bulk or large refill sizes, consider keeping the refill bottle elsewhere, like a garage shelf or a utility closet, and storing only the working-size bottle under the sink.
The same logic applies to sponges, trash bags, and disposable gloves. Keep a small working supply under the sink and store the rest somewhere with more room. This one habit keeps the cabinet from filling back up within a week of organizing it.
Label Everything, and Mean It
I realize this sounds like the kind of advice that's easy to skip, but labeled zones are the reason this setup lasts. When every item has a designated spot and that spot is marked, it takes the same amount of effort to put something back correctly as it does to put it back wrong.
I use a simple label maker on the front of each bin. Left bin: everyday. Right bin: occasional. Door pocket: gloves and scrubbers. It takes ten minutes and it holds the whole system together. My fiance used to find the labeling a little excessive, but after six months of actually being able to find the glass cleaner on the first try, they've come around.
If you don't have a label maker, masking tape and a marker works fine. The goal is clarity, not aesthetics.
Keep a Small Caddy for Moving Supplies Room to Room
Even with a great under-sink system, you'll eventually need to carry supplies to another room. A portable caddy solves this without wrecking your organization. You just lift it out, use what you need, and return it to the same spot.
Stainless Steel Sink Caddy Organizer is a good option here. It sits inside the cabinet when not in use and has enough compartments to hold the four or five things you actually carry around: an all-purpose spray, a microfiber cloth, a scrubber, and maybe a small bottle of glass cleaner.
The caddy becomes its own zone inside the cabinet. Everything that lives in it stays in it, so restocking takes thirty seconds.
Maintain It With a Monthly Two-Minute Check
The setup takes maybe an hour to put together properly. Maintaining it takes almost nothing if you build in a quick check once a month. Pull the slide-out tray, see if anything is empty or expired, and return anything that wandered out of its zone.
That's it. Two minutes, once a month. The systems that last are the ones that are easy to reset, not the ones that are perfect on day one and abandoned by day thirty.
The takeaway: A good under-sink setup comes down to three things: measuring before you buy, using organizers that work around the drain pipe instead of ignoring it, and labeling zones so the system maintains itself. Do those three things and you'll stop reorganizing that cabinet every few months.




