How to Organize a Deep Pantry So Nothing Gets Lost in the Back
Last updated: 2026-07-28 · 5 min read

Deep pantries are a blessing until they are not. You stock up on canned tomatoes, slide them to the back, buy more canned tomatoes two weeks later, and six months from now you are excavating a wall of soup cans to find the one jar of tahini you swore you bought. I have been there. The problem is not that you have too much stuff. It is that a deep shelf without a system is just a dark cave where good intentions go to expire.
Start by Pulling Everything Out
Before you buy a single bin or label, take everything out. Yes, everything. Stack it on the counter or the kitchen table and actually look at what you have.
This step serves two purposes. First, you will find things that need to go: expired goods, duplicates, items that somehow migrated from a different cabinet. Second, you will get a real inventory of your categories, which is what the whole system is built on.
Group as you go. Canned goods together, baking supplies together, grains and pasta together, snacks, oils and vinegars, breakfast items. Do not put anything back until you have a clear picture of every category you are actually working with.
Map Your Zones Before You Put Anything Back
The cardinal rule of a deep pantry is this: the back is for overflow and bulk, never for everyday items. If you have to reach past three things to get to something you use twice a week, the system is already failing.
Front zone, roughly the first 8 to 10 inches: daily and weekly use items. Things you grab without thinking. Cooking oils, the spices you actually rotate, snacks, current open boxes of pasta or cereal.
Middle zone, 10 to 20 inches back: secondary items you use regularly but not daily. Canned goods you cycle through, baking staples like flour and sugar, grains.
Back zone, 20 inches and beyond: backup stock and bulk purchases only. One extra of something, not five. If it lives back here, it needs to earn that spot by being a true duplicate of something in the middle zone.
Use Pull-Out Bins for the Middle and Back Zones
This is the single most effective change you can make in a deep pantry. Instead of reaching past things, you pull the whole bin toward you. Everything in it becomes visible and accessible at once.
For shelves with at least 10 inches of clearance, stackable bins on wheels work well because you can adjust height as categories change. Stackable Storage Bins with Wheels (4-Tier) These are especially useful for the back zone where you want to pull the entire bin out in one motion.
Measure your shelf depth and your bin before you buy. A bin that is 18 inches deep on a 24-inch shelf leaves you 6 inches of front space for grab-and-go items. That front space is not wasted. It is intentional staging.
Decant What Makes Sense (and Only What Makes Sense)
Decanting everything looks satisfying in a photo. In real life, it creates a project you will not maintain. Decant selectively: items you use daily, items with ugly or bulky packaging that wastes space, and items you buy in bulk and need to portion down.
Good candidates are pasta, rice, oats, flour, sugar, snack mixes, and coffee. For these, airtight containers do double duty: they keep food fresh and they stack cleanly. Airtight Food Storage Containers (24-Pack) A set of clear, airtight containers in uniform sizes will turn an irregular shelf of bags into a neat row you can actually scan quickly.
Leave canned goods, boxed items you cycle through fast, and specialty ingredients in their original packaging. Your pantry does not need to be a magazine shoot. It needs to work on a Tuesday night.
Label Everything at the Category Level
I will not pretend I am neutral on this subject. Labels are what make a system stick, especially when more than one person is putting groceries away. Without them, things drift back to wherever they fit.
Label the bin or shelf zone, not necessarily every individual item. A label that says BAKING or CANNED TOMATOES on the bin itself is enough to keep the category intact over time. Use a label maker or even a simple piece of tape and a marker. The point is that anyone walking into this pantry can figure out where things belong without asking.
My fiance has strong opinions about what the pantry should look like overall, but on the labeling question we have always agreed. When the labels are there, things actually get put back correctly. That alone is worth the two minutes it takes.
Build a First-In, First-Out Rotation
This applies especially to canned goods and anything with a shelf life. New purchases go behind older stock, always. It sounds simple because it is, but it requires the shelf to be set up in a way that makes rotation easy.
For cans, a small tiered riser or a can organizer at the front of the middle zone lets you load from the back and grab from the front. For dry goods in containers, bring the container forward when you open it and put a fresh backup behind it.
Date-labeling backup stock in the back zone is worth doing if you buy in quantity. A small piece of tape with the purchase month on the bottom of a container takes five seconds and saves you from finding something two years past its prime.
Maintain the System in Under Five Minutes
A pantry system fails when the reset takes longer than the mess. Build the habit of a quick scan every week, ideally when you put groceries away. Pull anything that crept to the wrong zone back to its place. Check what is running low in the back stock and move it forward.
For items that tend to accumulate or tip over, foldable baskets keep a category contained without being rigid. Stackable Foldable Storage Baskets (5-Pack) They are easy to pull out, easy to straighten, and they collapse flat if a category shrinks.
If a zone consistently gets messy within a day or two, that is information. Either the category is too broad, the bin is the wrong size, or the location does not match how you actually use those items. Adjust the system rather than blame yourself for not following it.
The takeaway: A deep pantry does not have to be a guessing game. Zone it front to back by frequency of use, pull out bins so nothing is permanently stranded, decant only what you will actually maintain, and label the zones so the whole system runs without you policing it. Set it up once, tweak it as you learn your habits, and the back of the pantry stops being a mystery and starts being useful storage.
Everything mentioned in this guide
Stackable Storage Bins with Wheels (4-Tier)
View product →
Airtight Food Storage Containers (24-Pack)
View product →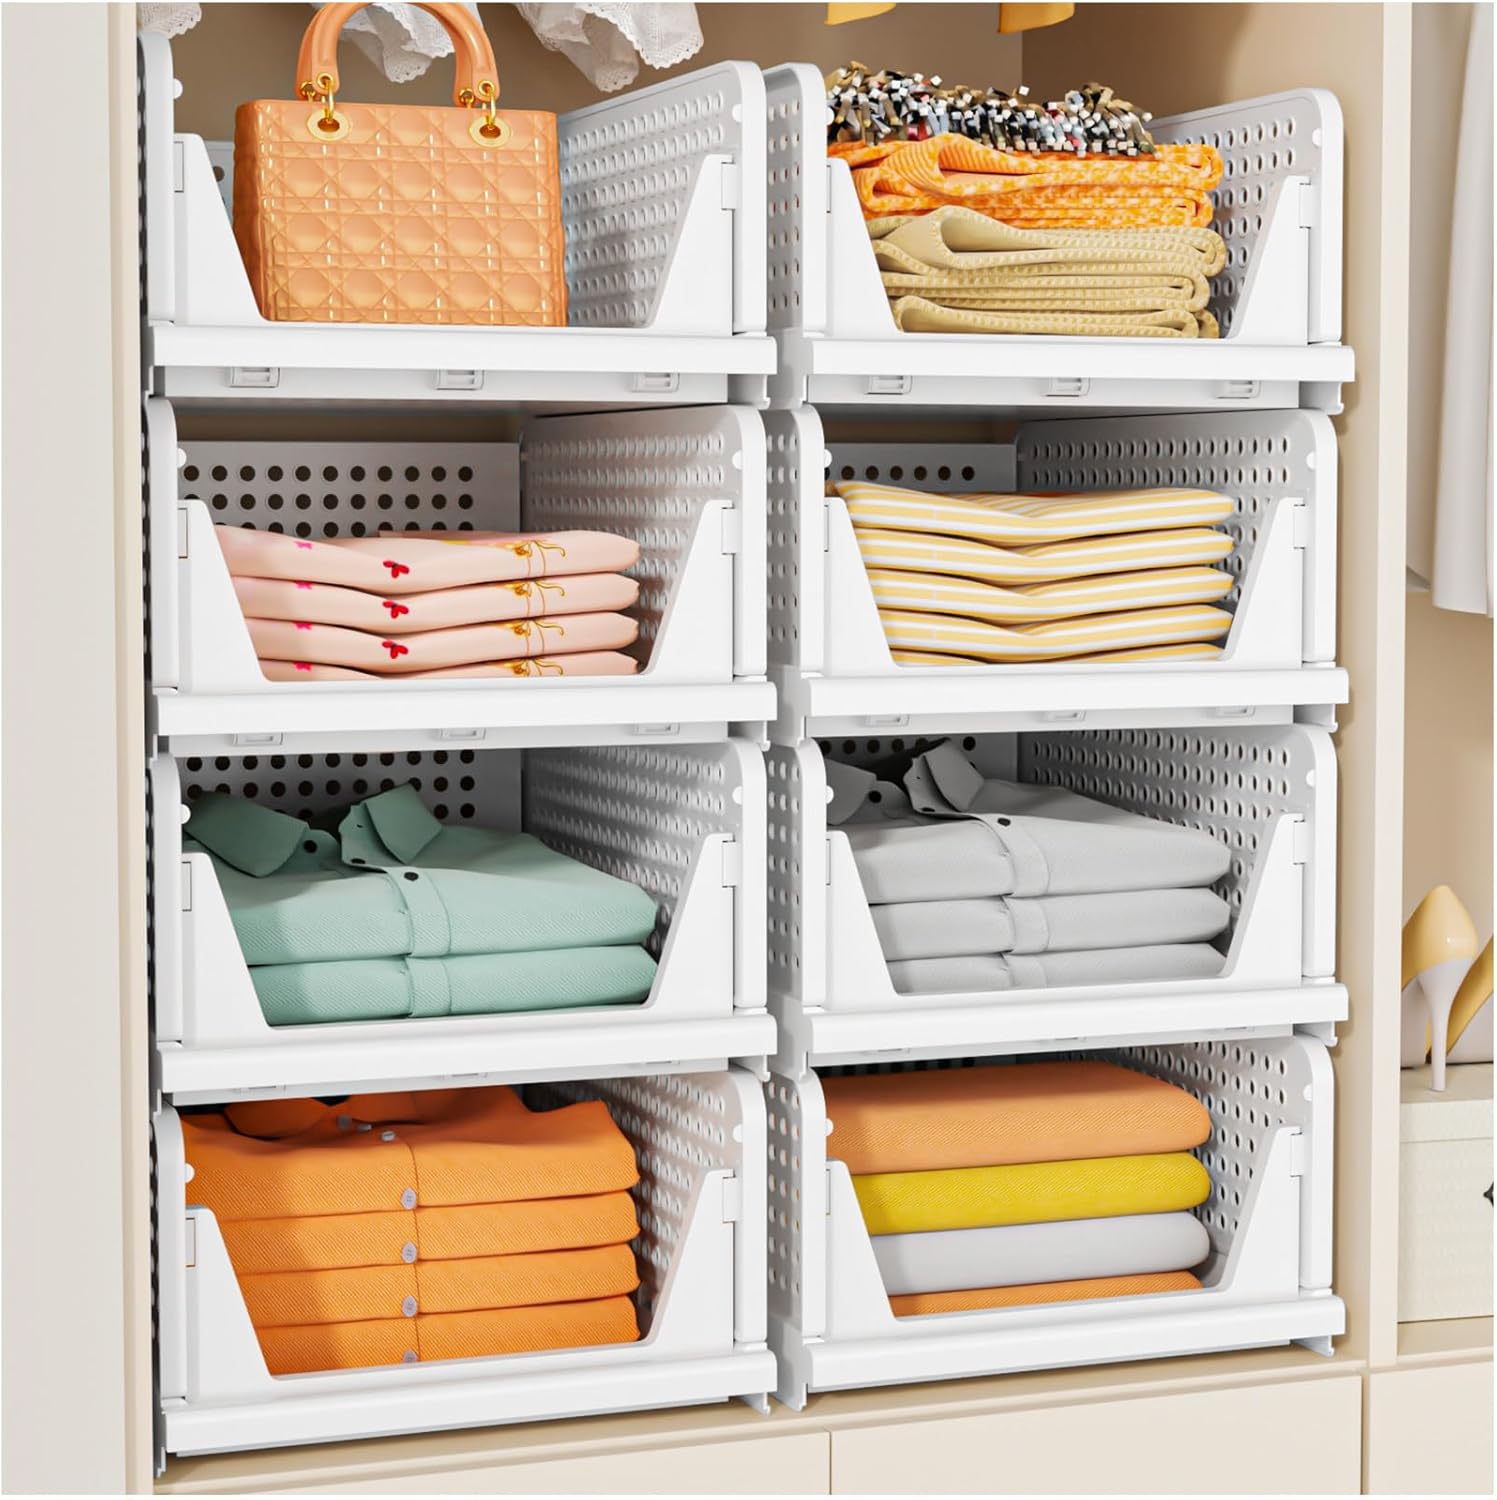
Stackable Foldable Storage Baskets (5-Pack)
View product →Airtight Food Storage Containers (24-Pack)
View product →
Stackable Storage Organizers with Bamboo Lid (2-Pack)
View product →