How to Organize a Deep Pantry So Nothing Gets Lost in the Back
Last updated: 2026-08-08 · 6 min read

A deep pantry sounds like a dream until you find a can of chickpeas that expired two years ago hiding behind a bag of quinoa you forgot you bought. The depth that promised generous storage becomes a black hole. Things go in, things do not come out. You buy duplicates. You waste food. You open the door, stare into the abyss, and close it again. The good news is that a deep pantry is genuinely fixable. You do not need a renovation or a Pinterest-worthy budget. You need a real system built around the actual problem: depth. Here is how to build one.
Start by Pulling Everything Out
Before you organize a single thing, empty the pantry completely. Every shelf, every corner, every mystery item shoved to the back. Put it all on your counter or kitchen table.
This step is non-negotiable. You cannot build a new system on top of an old mess. While everything is out, check expiration dates and toss anything past its prime. Group what remains into broad categories: canned goods, grains and pasta, baking supplies, snacks, oils and condiments, and so on. You are not organizing yet, just sorting. Getting a clear picture of what you actually own is the whole point of this step.
Measure Your Shelves Before You Buy Anything
Grab a tape measure. Write down the depth, width, and height of every shelf in your pantry. This matters more than most people realize.
Standard pantry shelves run 16 to 20 inches deep, which is enough to hide two full rows of cans. If your shelves are on the deeper end, a single row of product at the front means you have 10 or more inches of dead space behind it. That dead space is where things go to be forgotten.
Knowing your exact measurements tells you what size bins and containers will actually fit, and how many rows you can realistically fit per shelf without creating chaos.
Use Pull-Out Bins to Solve the Depth Problem
The single most effective fix for a deep pantry is the pull-out bin. Instead of reaching past things to grab something at the back, you pull the whole bin forward. Everything in the bin comes with it. Nothing hides.
For canned goods and heavier items, look for sturdy bins with a lip at the front so cans do not roll out. Group by category: one bin for canned beans and tomatoes, one for soups, one for condiment packets. Label the front of each bin. Yes, I label the bins. No, I will not stop.
For dry goods like pasta, rice, and lentils, airtight containers make a real difference. They stack cleanly, keep food fresh longer, and let you see exactly how much you have left at a glance. Airtight Food Storage Containers (24-Pack) are a solid choice here. A set of 24 covers most pantry staples and the uniform shape means you can actually stack them without everything toppling over.
Assign Shelf Zones by Frequency of Use
Once you have your bins and containers sorted, think about placement. The rule is simple: the things you reach for most often should live at eye level or just below. Things you use occasionally go higher. Things you rarely touch go to the bottom or the very top.
A practical breakdown for most households looks something like this. Eye level: snacks, canned goods you cycle through weekly, cooking staples. Below eye level: heavier items like oils, vinegars, and bulk grains. Above eye level: baking supplies, specialty items, things you use a few times a year. Bottom shelf: overflow stock, large bags, or appliances you store in the pantry.
Stick to this assignment even when you restock. The system only works if things go back where they belong.
Build a First-In, First-Out Rotation Habit
Organizing the pantry is one thing. Keeping it from sliding back into chaos is another. The most important habit you can build is first-in, first-out, or FIFO. New groceries go to the back. Older items come to the front. You use the older stuff first.
This is the same system grocery stores use and for good reason. It eliminates expired food because nothing sits untouched long enough to go bad. It also means you always know roughly what you have, because you are constantly cycling through your stock.
For canned goods specifically, a can dispenser that loads from the top and dispenses from the front does this automatically. If you prefer bins, just make it a rule: when you put new cans in, move the old ones forward first. It takes about 30 extra seconds and saves you real money over time.
Add a Lazy Susan for Corner or Awkward Spots
If your pantry has a corner section, an angled wall, or one shelf that is wider than the rest, a turntable or lazy Susan is worth every dollar. Spinning access means you never have to move six things to reach the one behind them.
Lazy Susans work especially well for bottles, jars, and condiments, things with odd shapes that resist being corralled into rectangular bins. Put your oils, vinegars, hot sauces, and specialty pastes on a turntable and a spin gives you a full view of everything.
For open jars and smaller pantry staples you want to display or access easily, Glass Apothecary Storage Jars (6-Set) are a nice option. The clear glass means you see the contents immediately, and they look calm and cohesive on a shelf rather than a chaotic mix of original packaging.
Label Everything, Including the Shelves Themselves
Containers only work if the right things go back in the right containers. Labels close that loop.
Label the containers themselves with the contents. Label the shelf zones so anyone putting groceries away knows exactly where things belong. My fiance thought labeled shelf zones were a step too far, right up until the moment they actually found what they were looking for without asking me. We have not argued about it since.
For pantry containers, a simple label maker or even printed adhesive labels work fine. For bins, a label on the front face at eye level is all you need. Keep the text short: Pasta, Canned Tomatoes, Baking, Snacks. Clear and specific beats decorative and vague every time.
If you want the containers themselves to do some of the work, stackable organizers with bamboo lids give you a clean, cohesive look while still being functional. Stackable Storage Organizers with Bamboo Lid (2-Pack) are worth a look if you want something that feels intentional rather than just utilitarian. Pair them with a label on the front and your shelves will look like you planned them, because you did.
For a lid and wrap organization solution within the pantry, Bamboo Food Container Lid Organizer keeps container lids upright and sorted so you are not digging through a pile every time you need to store leftovers.
The takeaway: A deep pantry is not a storage problem, it is an access problem. Once you solve for access, through pull-out bins, smart zoning, consistent rotation, and clear labels, the depth becomes an asset instead of a liability. You will actually know what you have. You will stop buying duplicates. And you will not find any more ancient cans of chickpeas lurking in the back. Start with one shelf, get it right, then move to the next. The system builds on itself.
Everything mentioned in this guide
Airtight Food Storage Containers (24-Pack)
View product →
Stackable Storage Organizers with Bamboo Lid (2-Pack)
View product →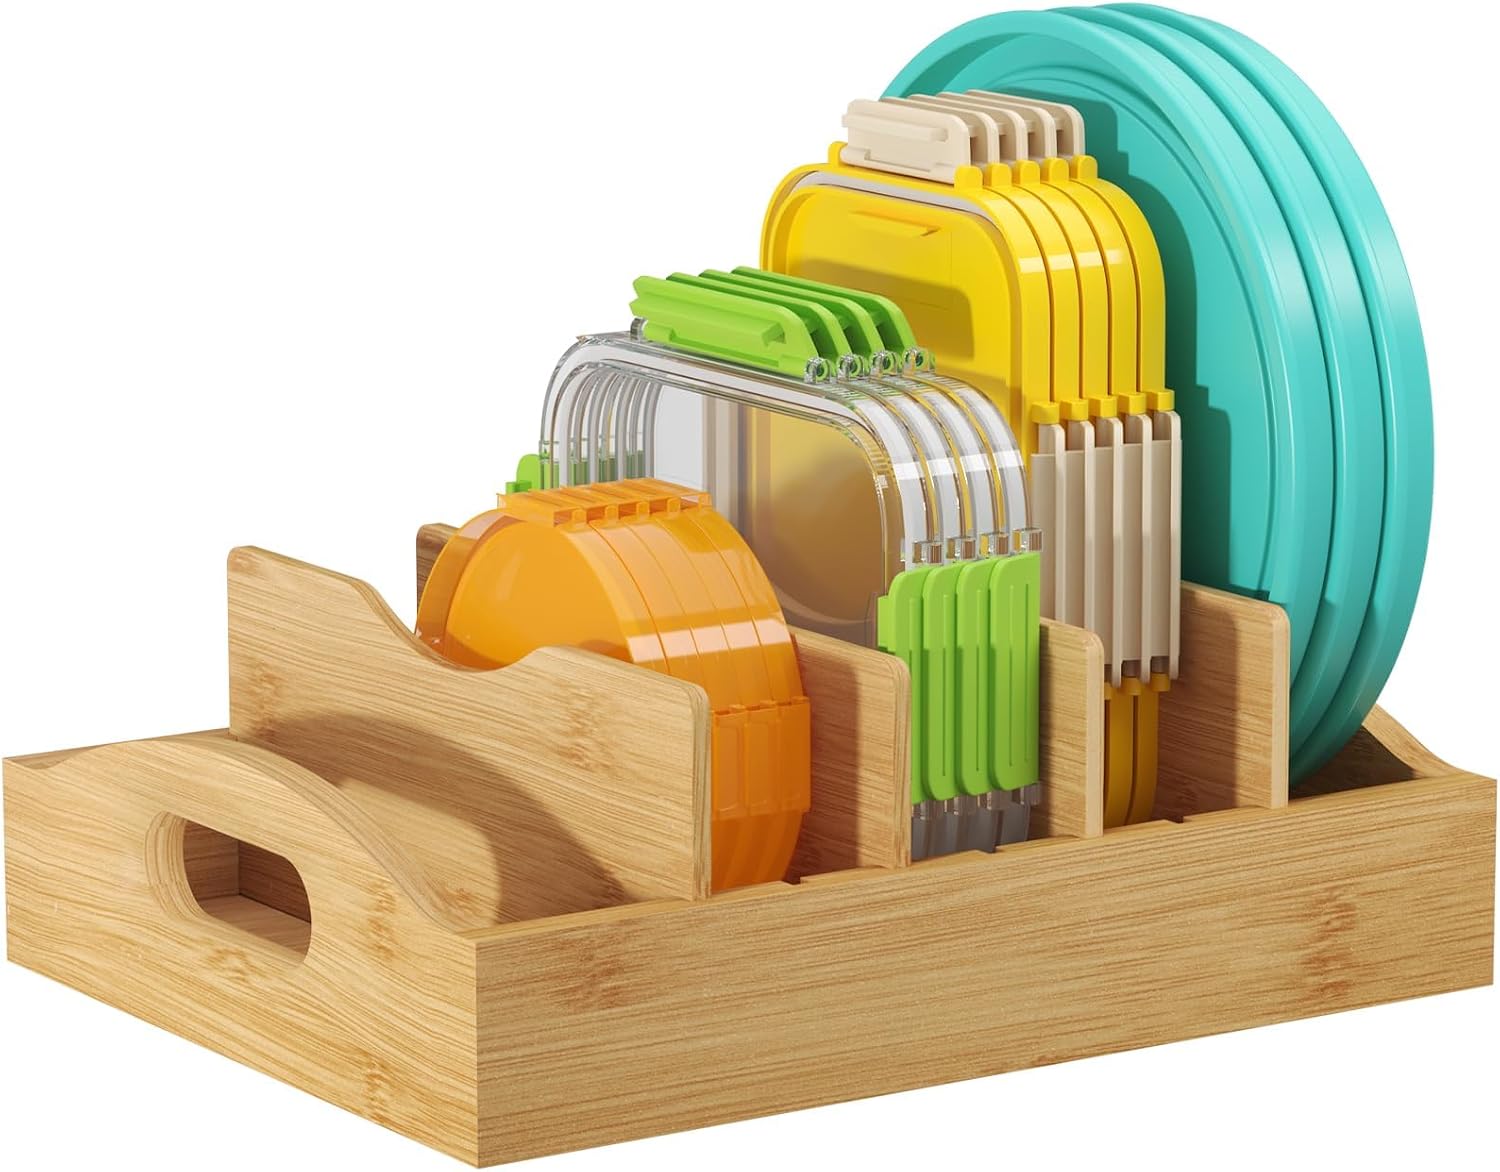
Bamboo Food Container Lid Organizer
View product →
Glass Apothecary Storage Jars (6-Set)
View product →
Bamboo Kitchen Drawer Dividers (4-Pack)
View product →