Home Office Cable Management for a Clutter-Free Desk
Last updated: 2026-09-24 · 5 min read

I have made peace with a lot of things in life. Tangled cables behind my desk are not one of them. There is something about a nest of cords that makes it genuinely difficult to think, and I say that as someone who has rearranged the same desk three times chasing that feeling of open, calm workspace. If you have ever lost ten minutes tracing which black cord goes to what, or watched a charger slide off your desk for the fourth time today, this guide is for you. Here is exactly how I approach cable management, start to finish, so your desk stays clear and stays that way.
Start With an Honest Cable Audit
Before you buy a single clip or sleeve, pull every cable out from behind your desk and lay them on the floor. Count them. Name them. Power cable for the monitor, charging cable for the laptop, USB hub cord, speaker wire, whatever you have got. Most people discover two or three cables they are not even using anymore.
Disconnect anything that does not need to be plugged in on a regular basis and put it in a drawer. You cannot manage clutter you should have eliminated first. Once you know exactly what stays, you can plan a system that actually fits your setup instead of one that just hides the mess temporarily.
Consolidate Your Power at One Spot
The single best upgrade you can make is replacing a tangle of wall adapters and extension cords with one well-placed surge protector that has both AC outlets and USB ports built in. This cuts the number of cables running to the wall by half or more.
The Surge Protector Outlet Extender Surge Protector Outlet Extender (6 AC + 4 USB) is a good fit here. It gives you six AC outlets and four USB ports, so your monitor, laptop charger, desk lamp, and phone can all come from one tidy source. Mount it or tuck it under the desk with a strong adhesive strip and you have already solved the hardest part of the problem.
Route Cables With Intention, Not Improvisation
Once your power is consolidated, every remaining cable needs a deliberate path. The rule I use: cables run either horizontally along a surface or vertically down a leg. No diagonals, no loops, no slack left dangling in the middle. It sounds rigid, but the result is the kind of desk that looks intentional rather than accidental.
For vertical runs down a desk leg, a spiral cable wrap or a flat adhesive cable channel keeps everything in line. For horizontal runs along the underside of the desk, a cable raceway tacked to the wood is clean and invisible from a seated position. Measure the distance from your power strip to each device before you buy anything so you know what lengths you actually need.
Hide the Bulk in a Cable Management Box
Even with good routing, power bricks and the excess length of cables have to go somewhere. A cable management box is the answer. You coil the slack, drop in the power strip or adapter bricks, close the lid, and that whole mess becomes one clean box sitting on or under your desk.
I use the Woven Cable Management Box Woven Cable Management Box (2-Pack) because the woven finish does not look out of place on a desk, and it comes as a two-pack so I have one for the desk and one for the media stand across the room. My fiance, who has strong opinions about anything that sits out in plain sight, actually approved this one without negotiation, which I consider a personal victory. If you prefer a more minimal look, the Cable Management Box Cable Management Box is a solid all-black option that disappears against most desk surfaces.
Anchor Cables So They Stay Put
A cable that is not anchored will migrate. The charger slides off the desk, the headphone cable falls behind the monitor, and within a week you are back where you started. Small adhesive cable clips are the fix, and they cost almost nothing.
The Clear Adhesive Wall Hooks Clear Adhesive Wall Hooks (12-Pack) work well along the back edge of a desk or down the side of a monitor stand to keep specific cables in their lane. Use one clip per cable rather than grouping them, especially where cables branch off to different devices. That way you can swap or remove one cable without disturbing everything else.
Label Everything at the Power Strip
This is not optional, and I will not pretend otherwise. Label every plug at the point where it enters the power strip. A small label maker works best, but a strip of masking tape and a fine marker does the job too. Write what the cable does, not what it is physically connected to: MONITOR, LAPTOP, LAMP, not Dell 27-inch or MacBook charger.
When you need to unplug something in a hurry, or when someone else is working at your desk, those labels save real time. This takes about four minutes and you will thank yourself every single time you reach behind the desk.
Do a Five-Minute Reset Each Week
A cable system does not maintain itself, but it also does not take much to keep it working. Once a week, when you are shutting down for the day, take thirty seconds to check that every cable is in its clip, nothing has migrated to the desk surface, and the cable box lid is closed. That is it.
The bigger resets, say after you add a new device or rearrange the desk, should follow the same audit-then-route-then-anchor sequence from the beginning. It sounds like more work than it is. Once you have done it once, repeating it for one new cable takes under ten minutes.
The takeaway: Cable management is not about perfection on day one. It is about building a system that is easy enough to maintain that you actually do. Audit first, consolidate your power, route with intention, hide the bulk, and anchor everything in place. Your desk will look clearer, your focus will follow, and you will stop losing time to the question of which cord is which.
Everything mentioned in this guide

Woven Cable Management Box (2-Pack)
View product →
Cable Management Box
View product →
Surge Protector Outlet Extender (6 AC + 4 USB)
View product →
Clear Adhesive Wall Hooks (12-Pack)
View product →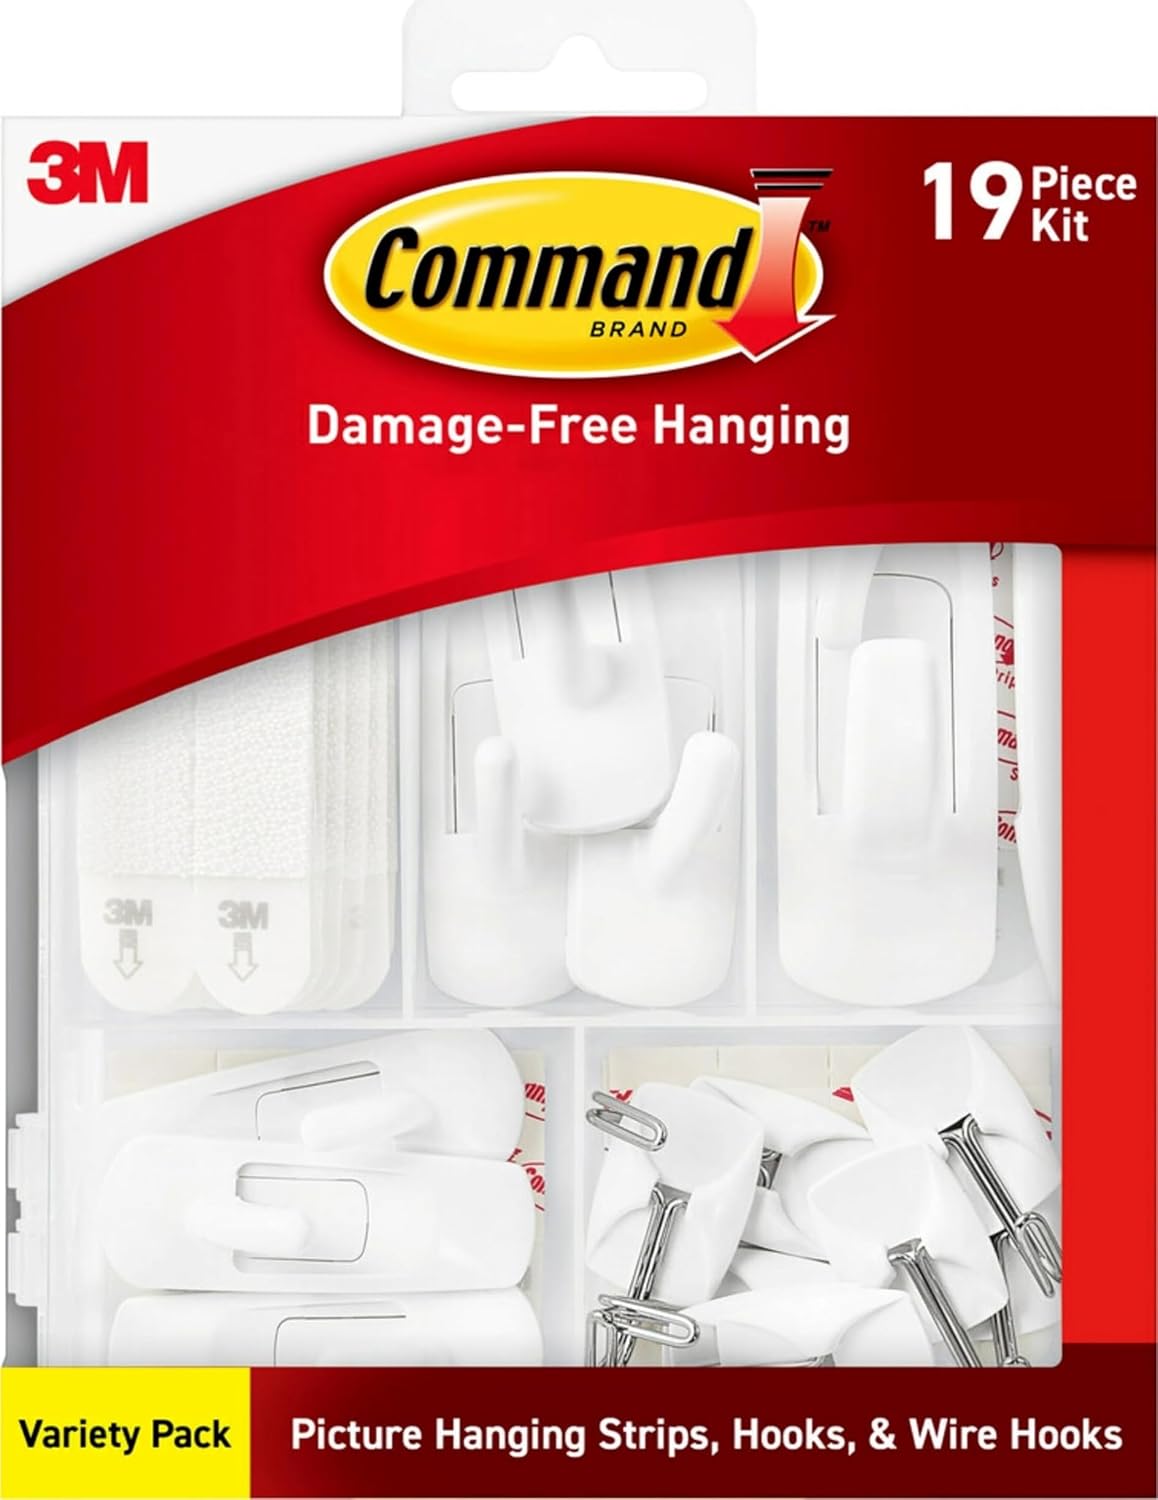
Command Damage-Free Hanging Variety Pack
