DIY Drawer Dividers: Custom Organizers for Any Drawer
Last updated: 2026-07-12 · 5 min read

Store-bought drawer organizers are designed to fit an average drawer in an average home. If your drawers are anything like mine, they are not average. They are too wide, too shallow, or just oddly sized enough that every pre-made insert leaves a dead strip of wasted space along one edge. That gap bothers me more than I will admit. The fix is making your own dividers. It sounds like a weekend project, but most drawer setups take under an hour once you have your materials and measurements. This guide walks you through the whole process, from measuring correctly to choosing the right material to locking everything in place without glue or tools.
Start With a Proper Measurement (Not a Guess)
Pull the drawer out completely and measure the interior width, interior depth, and interior height. Write all three numbers down. Do not rely on memory.
Width is the measurement from left wall to right wall. Depth is front to back. Height is the distance from the drawer floor to the top edge of the drawer side. That last one matters because your dividers need to sit below the top edge so the drawer can close.
If you are dividing the drawer into sections front-to-back, you will use the width measurement for your cross pieces. If you are dividing side-to-side, you will use the depth. Most drawers benefit from both directions, creating a grid. Sketch it out on paper first. Even a rough grid sketch saves you from cutting something twice.
Choose Your Material
Thin hobby plywood or craft board (1/4 inch thick) is the most forgiving material for beginners. It cuts cleanly with a basic utility knife and a straight edge, holds its shape, and looks tidy. You can find it at any hardware or craft store.
Bamboo is another excellent option. It is naturally slim, moisture-resistant, and handles kitchen and bathroom drawers especially well. If you want something ready to drop in without any cutting, the Bamboo Expandable Drawer Organizer Bamboo Expandable Drawer Organizer works well as a base layer that you can then supplement with your own custom cross-pieces for an exact fit.
For office or junk drawers where looks matter less than function, thick cardstock or chipboard works fine. Cut it, fold tabs, and slot the pieces together. No tools required.
The Slot-and-Tab Method: No Glue, No Tools
This is the technique I use most often because it requires nothing but a ruler, a utility knife, and your material of choice.
Cut two sets of strips: the pieces that run width-wise and the pieces that run depth-wise. Make every strip the same height, about 1/8 inch shorter than the interior height of your drawer so it clears the top edge.
For each intersection point, cut a slot halfway up the strip. On depth pieces, cut the slot from the bottom up. On width pieces, cut it from the top down. The slots interlock, and the grid stands on its own inside the drawer without any adhesive.
The key is making your slots just slightly wider than your material thickness. Test a scrap piece first. Too tight and the pieces split when you press them together. Too loose and the grid wobbles.
Pre-Made Inserts as a Starting Point
Sometimes a hybrid approach is smarter than starting from scratch. Drop in a set of clear inserts sized close to your drawer, then fill the gaps with your own custom pieces.
The Clear Plastic Drawer Organizers (25-Piece Set) Clear Plastic Drawer Organizers (25-Piece Set) give you a wide range of compartment sizes to work with. Arrange the pre-made pieces to cover most of the drawer, then cut a single custom strip to fill whatever gap remains along the side or back. You get the speed of pre-made plus the precision of custom, and the whole thing takes fifteen minutes.
For kitchen drawers specifically, pairing a slotted bamboo base with a silverware insert works beautifully. The Silverware Drawer Organizer (9-Slot) Silverware Drawer Organizer fits neatly in the lower section of most kitchen drawers, and you can build custom dividers above or beside it to hold everything else.
Lining the Drawer Before You Divide It
This step is easy to skip and worth not skipping. A drawer liner gives your dividers a non-slip surface to rest against, protects the drawer floor from scratches, and makes the whole thing look finished.
Cut liner material to fit the full interior floor of the drawer before you install anything. Grip liner (the rubbery mesh kind) works well in kitchen and utility drawers. Felt or fabric liner is better for jewelry, office supplies, or anything you want to feel a little more considered.
My fiance pushed for the liner step on our kitchen drawer project, and I will admit it made a real difference to how the finished drawer looked and felt. Sometimes the aesthetic argument wins.
Finishing and Labeling
Once your grid is in place and your items are sorted into their zones, label each section. Yes, I label my drawers. No, I will not be stopping.
For open-top compartments, a small label on the front edge of each divider strip tells everyone in the household exactly where things belong. This step is especially useful in shared spaces like kitchens, bathrooms, or home offices.
If you are organizing a utility drawer and want to go a step further, the Clear Drawer Organizer Set (25-Piece) Clear Drawer Organizer Set pairs well with custom dividers to create dedicated slots for small items like batteries, twist ties, and rubber bands that would otherwise migrate into every corner.
For bathroom drawers with smaller items, the Utensil Drawer Organizer (5-Slot) Utensil Drawer Organizer (5-Slot) adapts surprisingly well beyond the kitchen and keeps grooming tools, hair ties, and travel-size products sorted without taking up the whole drawer.
Maintaining the System
A drawer organizer only works if the categories stay honest. Every few months, pull the dividers out and reassess. Things accumulate. Categories drift. A section labeled "pens" becomes a section labeled "pens, mystery cables, and one birthday candle."
The reset takes about ten minutes. Empty the drawer, wipe the liner, check that your dividers are still tight at the joints, and re-sort. If a category has outgrown its slot, cut a new divider to resize it. The whole point of a DIY system is that it can change when your needs do.
The takeaway: Custom drawer dividers are one of the highest-return organization projects you can do at home. The materials cost almost nothing, the process is straightforward, and the result is a drawer that actually fits your life instead of someone else's average. Measure first, sketch it out, pick your material, and build the grid. Your future self will open that drawer and feel genuinely pleased, and that is not a small thing.
Everything mentioned in this guide
Bamboo Expandable Drawer Organizer
View product →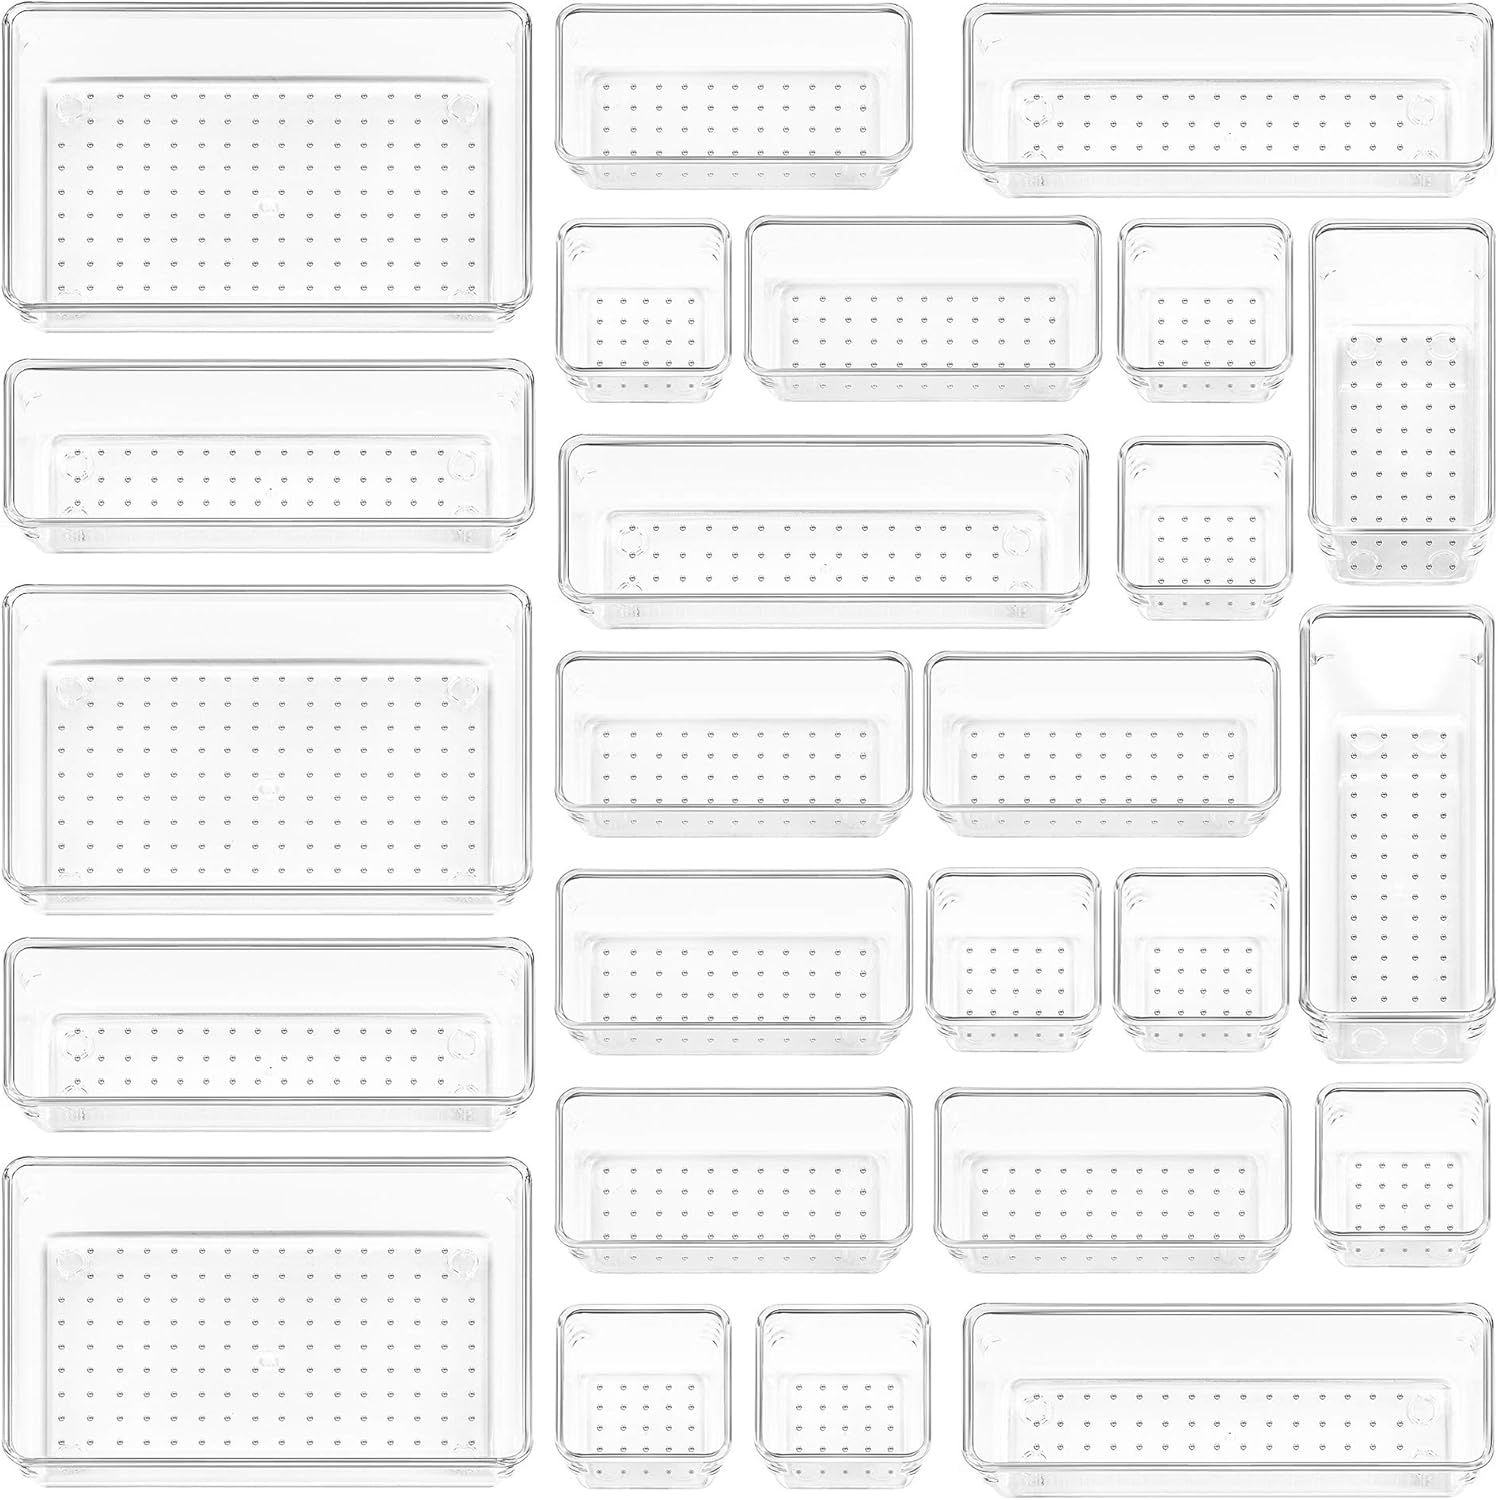
Clear Plastic Drawer Organizers (25-Piece Set)
View product →
Clear Drawer Organizer Set (25-Piece)
View product →
Silverware Drawer Organizer (9-Slot)

Utensil Drawer Organizer (5-Slot)
