DIY Drawer Dividers: Custom Organizers for Any Drawer
Last updated: 2026-09-10 · 5 min read
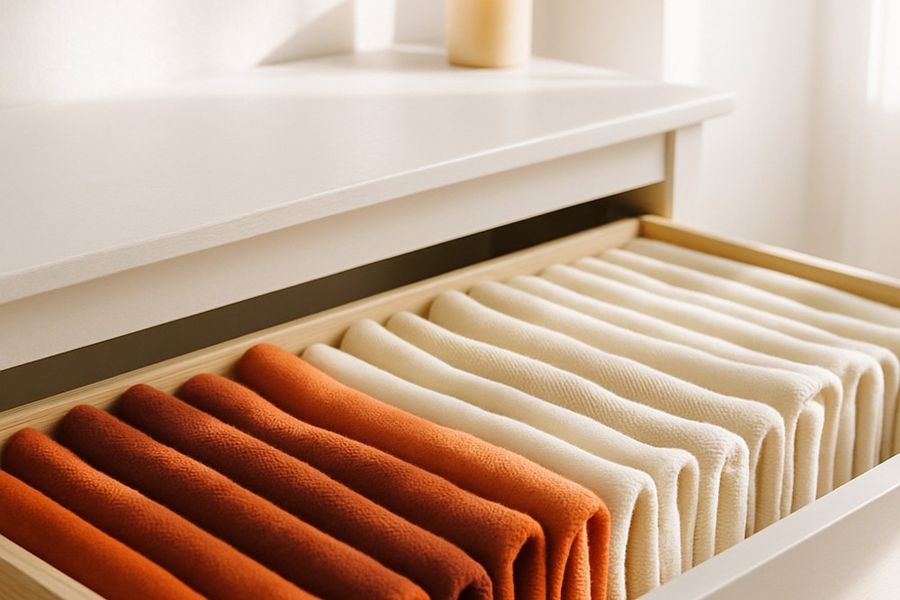
Store-bought drawer inserts are designed for a mythical average drawer that does not exist in your home or mine. They are either a half-inch too short, weirdly deep, or come in a pack of eight when you needed five. Building your own dividers takes maybe an afternoon and costs less than a single "organizational system" from a big-box store. More importantly, you get dividers that actually fit the drawer, not the other way around.
Measure First, Cut Once (Please)
Before you buy a single piece of material, measure your drawer three times: the interior width, the interior depth, and the interior height. Write these down somewhere you will not lose them. The height measurement matters because your dividers should sit just below the top of the drawer sides so they do not catch when you open and close the drawer. Aim for about a quarter-inch clearance.
Also measure the width of any existing hardware, like false-front clips or runner tracks on the inside walls. These eat into your usable interior space in ways that will absolutely ruin a tight-fitting divider if you ignore them.
Choose Your Material
The three most practical materials for DIY drawer dividers are thin plywood, foam board, and bamboo. Each has a different use case.
Thin plywood (1/4-inch or 3/8-inch) is the most durable and looks the best if you sand and finish it. Use it for kitchen drawers, tool drawers, or anywhere that sees daily heavy use. Bamboo is similarly sturdy and naturally moisture-resistant, which makes it a strong choice near sinks.
Foam board is dead simple to cut with a box cutter and works well for shallow drawers holding lightweight items like office supplies or cosmetics. It is not pretty up close, but it is fast, cheap, and totally functional. If you want a polished look without cutting wood, a set like Bamboo Kitchen Drawer Dividers (4-Pack) gives you a real bamboo aesthetic and can be trimmed down with a hand saw to fit a slightly narrower drawer.
Plan Your Layout on Paper First
Sketch the drawer from above on a piece of graph paper or just a plain sheet. Mark where you want the dividers to run. Decide whether your dividers will run front-to-back, side-to-side, or both to create a grid. A grid layout requires notched pieces that interlock, which takes a little more time but creates a rigid structure that will not shift.
For a front-to-back layout only, you need vertical pieces cut to the full depth of the drawer. For side-to-side only, you need horizontal pieces cut to the full width. Keep your compartment sizes specific to what goes in them. A silverware drawer needs slots wide enough for stacked spoons but not so wide they rattle around. A junk drawer (we all have one) needs at least one large open zone and several small ones.
Cutting and Finishing Your Pieces
If you are using plywood, a miter saw or circular saw gives you the cleanest cuts. If you do not own one, most hardware stores will make straight cuts for you for a dollar or two per cut. Sand the edges with 120-grit sandpaper, then 220-grit. If you want a finished look, one coat of water-based polyurethane keeps the wood from absorbing grease or moisture.
For interlocking grid dividers, cut a notch at the midpoint of each piece equal to exactly half the height of the divider strip and the width of your material. A 3/8-inch-thick piece of plywood needs a 3/8-inch-wide notch. These notches let the pieces slot together without glue.
If you are working with foam board, a metal ruler and a sharp box cutter are all you need. Score and snap for the cleanest edge.
Assembly and Fit
Test-fit every piece in the drawer before you commit to anything. Lay the side-to-side pieces in first, then slot the front-to-back pieces through. The whole structure should feel snug but not forced. If you used plywood and cut precisely, the friction fit alone will hold the dividers in place. No glue, no hardware, no adhesive.
For drawers with a slight gap at one end, cut a filler strip and wedge it in. It sounds fussy, but a loose divider that slides every time you open the drawer will quietly drive you insane. (I speak from experience.)
If you want pre-made modular pieces you can mix into your layout, Bamboo Expandable Drawer Organizer is an expandable bamboo organizer that you can combine with custom-cut pieces to fill odd gaps without rebuilding the whole thing.
Specialty Drawers Worth the Extra Planning
Kitchen utensil drawers and bathroom drawers have specific needs that a generic grid layout does not always solve.
For utensils, you want at least one long slot running front-to-back for spatulas and tongs, and shorter compartments for smaller items. A ready-made insert like Utensil Drawer Organizer (5-Slot) handles the small-item side of things and can sit inside a larger custom frame you build around it.
For a silverware drawer specifically, Silverware Drawer Organizer (9-Slot) is worth pulling in as a base layer, and you can build a custom surround to fill whatever space is left on the sides.
For bathroom drawers, keep divider heights low because the drawer is usually shallow and the contents vary wildly. My fiance and I negotiated that zone for longer than I will admit, and the truce involved separate compartments for each person's things. Labeling those compartments was my idea. It has held up.
Finishing Touches That Make It Actually Work
Line the bottom of the drawer before you place your dividers. A simple drawer liner, even the thin foam-backed kind from a dollar store, keeps compartments from sliding and protects the drawer base. Cut it to fit before you put the dividers in.
If you are storing small items like paper clips, batteries, or hair ties, add a shallow tray inside one of your compartments. A set like Clear Plastic Drawer Organizers (25-Piece Set) gives you clear plastic inserts in multiple sizes that drop right into the compartments you built.
Finally, label your compartments. A label maker is optional but deeply satisfying. Even a small piece of tape with handwriting tells the next person where things belong and makes it easier to maintain the system you just built.
The takeaway: DIY drawer dividers work better than store-bought because they are made for your actual drawer. Measure carefully, choose your material based on the drawer's purpose, plan the layout on paper before you cut anything, and test-fit every piece before the final assembly. An afternoon of work gives you a system that will hold up for years and makes opening that drawer genuinely pleasant instead of vaguely stressful.
Everything mentioned in this guide

Bamboo Kitchen Drawer Dividers (4-Pack)
View product →
Bamboo Expandable Drawer Organizer
View product →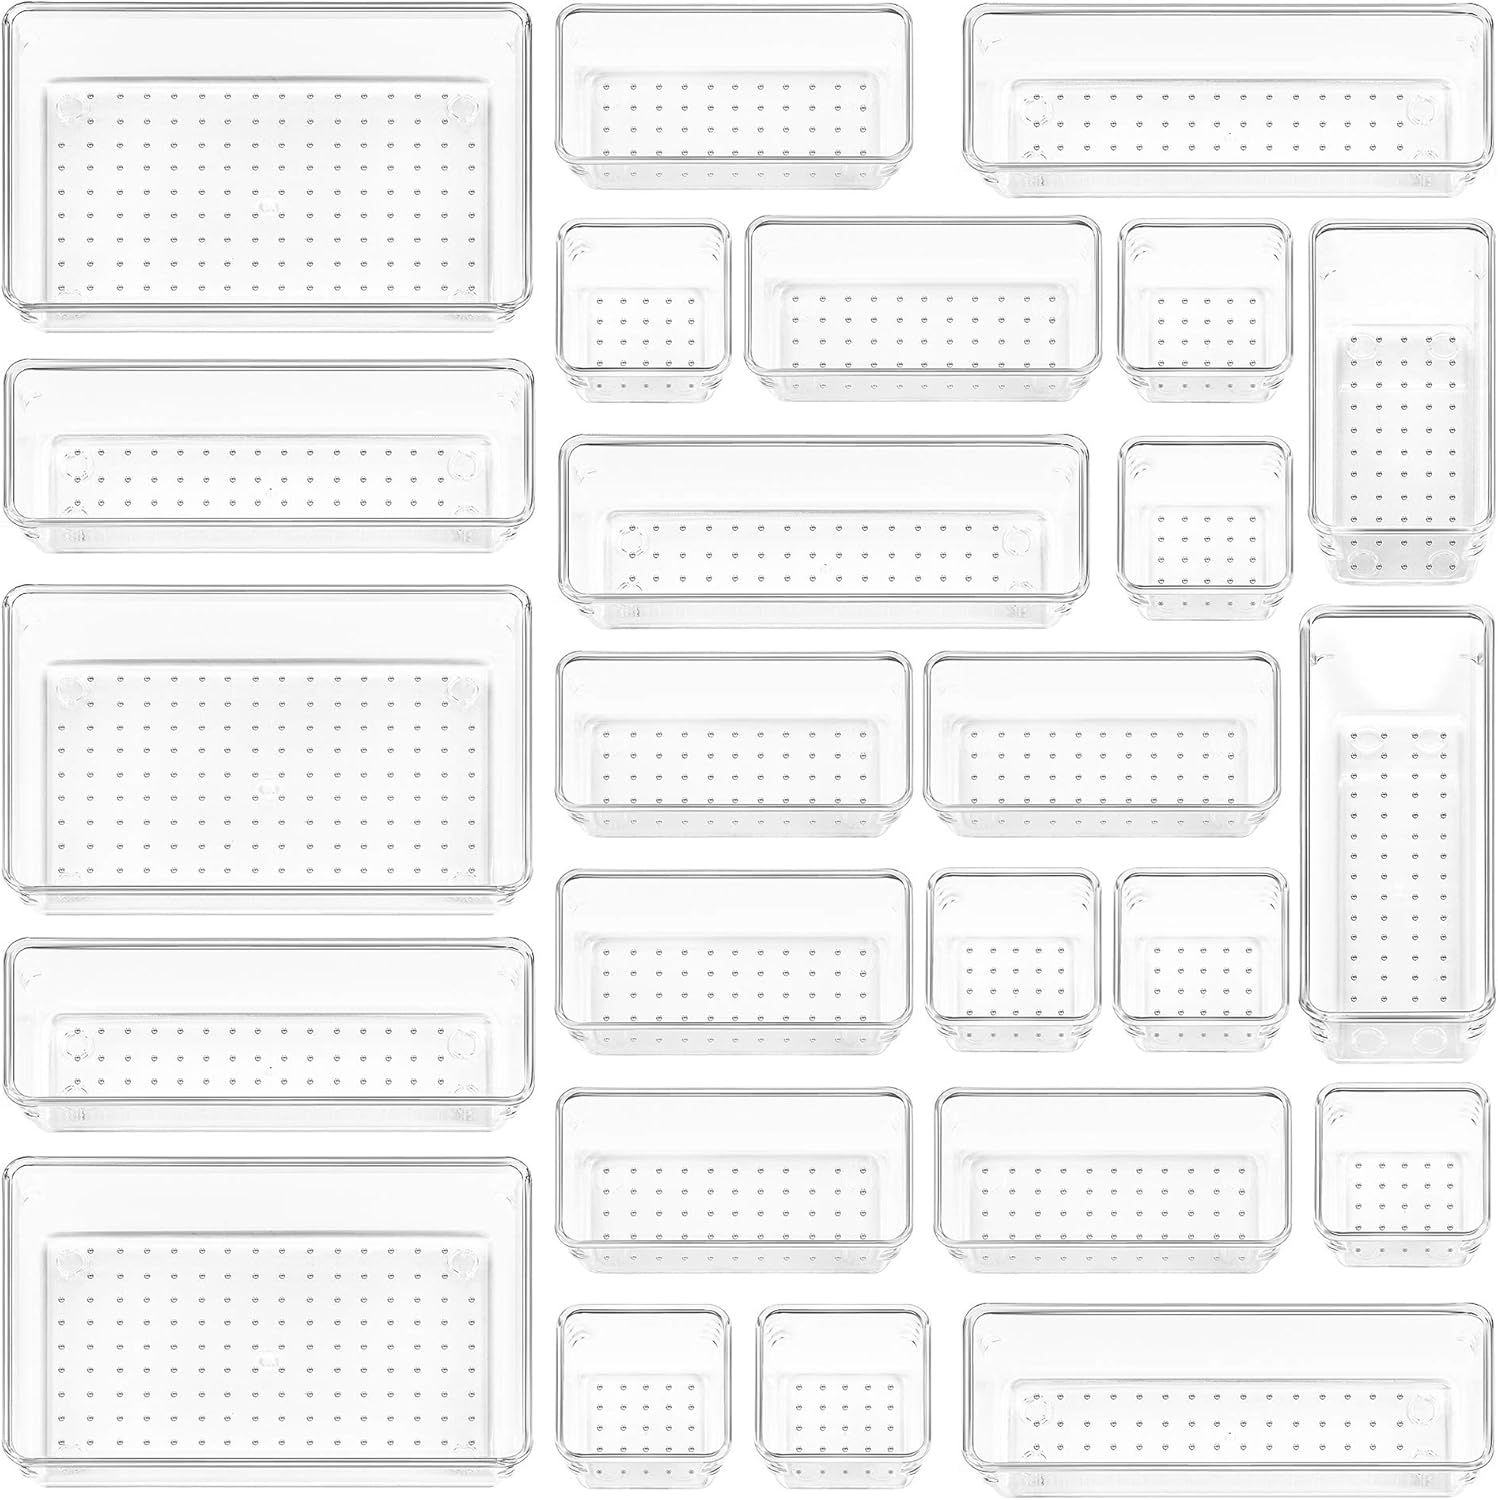
Clear Plastic Drawer Organizers (25-Piece Set)
View product →
Utensil Drawer Organizer (5-Slot)

Silverware Drawer Organizer (9-Slot)
